Lesson 1: Lab Fundamentals I
Measurement: Mass
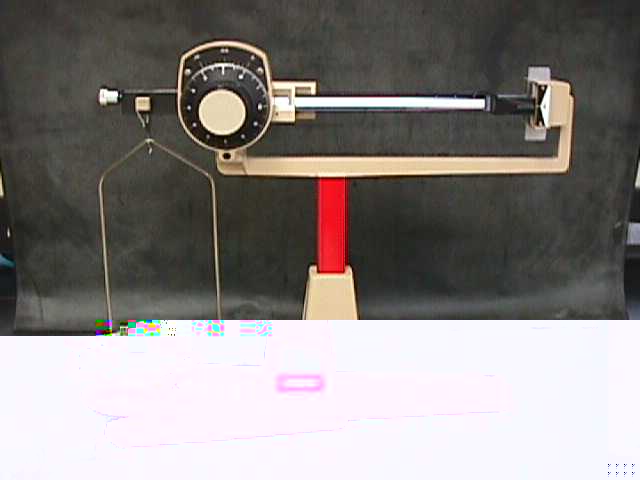
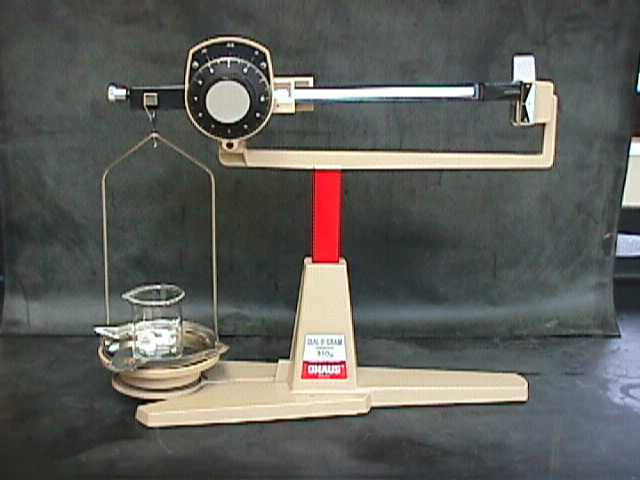
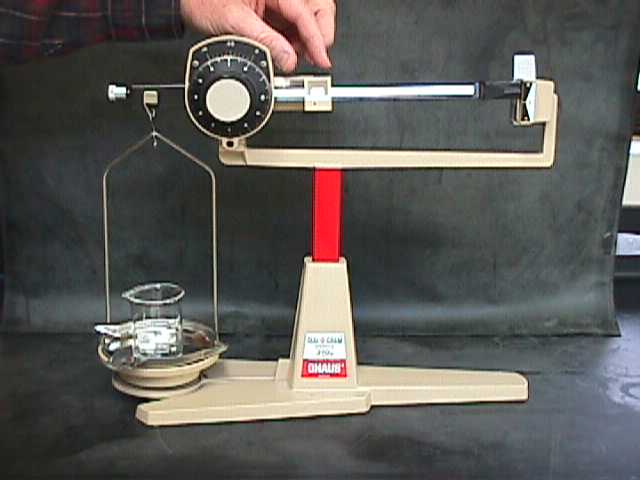
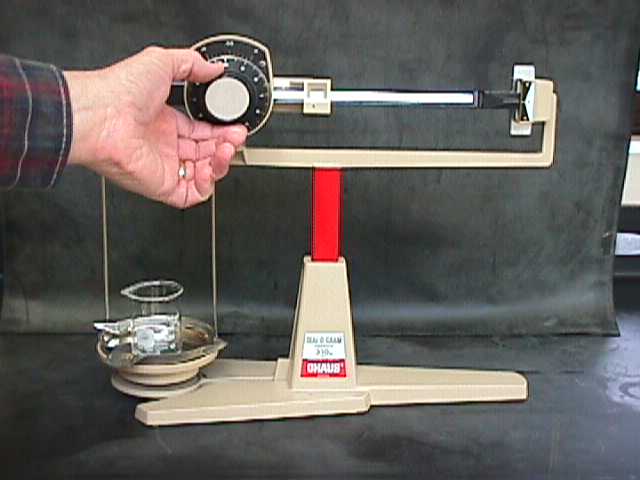
The primary method that you will use to measure the amounts of chemicals is to weigh them--that is, to determine their mass. To do this you use a balance. You'll be learning to use two balances: the Dial-O-Gram balance and an electronic top-loading balance.
|

|
| Dial-O-Gram Balance | Electronic Top-Loading Balance |
These two types of balances are chosen for this particular course for a couple of reasons. One of the primary reasons is that they are durable. They can be used by many people, even incorrectly at times, and still continue to give adequate values to each person who does use them correctly. You'll learn how to operate these particular balances. The techniques you learn for these are not necessarily applicable to other balances, particularly the more sensitive analytical balances or double-pan balances.
You should know that many other balances are much more delicate than these and can be damaged easily if they are not used correctly. You will need instruction for each new kind of balance you work with.
General Rules for Using Balances | Dial-O-Gram Balances | Electronic Top-Loading Balances
General Rules for Using Balances
Let's go over some of the general rules for using balances.
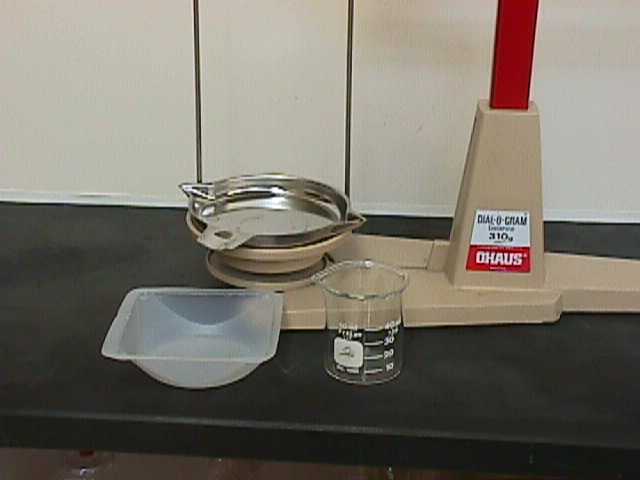
Do not place chemicals directly on the balance pan unless they are inert (unreactive) and at room temperature. Containers, glassware, or pieces of metal can generally be put directly on the balance pan, but for most other chemicals, you need to use a container for the chemicals. (The containers, of course, are chemicals, but they are inert.) The reason for this rule is that many chemicals react with the balance pan. Some attract moisture and cause corrosion. Any residue that sticks to the pan can interfere with weighing. It could also contaminate any other chemicals weighed later in the same way. So, instead of weighing materials directly on the balance pan, always weigh the chemicals in or on something--a weighing dish, a beaker, or a piece of folded paper. When you do, remember to weigh the container first or adjust for its weight.
Be careful not to spill any chemicals on or around the balance. If you do, clean up immediately!
If for some reason your balance doesn't seem to be adjusted properly, let the instructor know. Don't just try to fix it yourself. Tell us, so we can deal with it and get it functioning properly.
When you're finished with the balance, return the weights back to zero. Then it will be readyfor the next person to use it.
Dial-O-Gram Balances
|
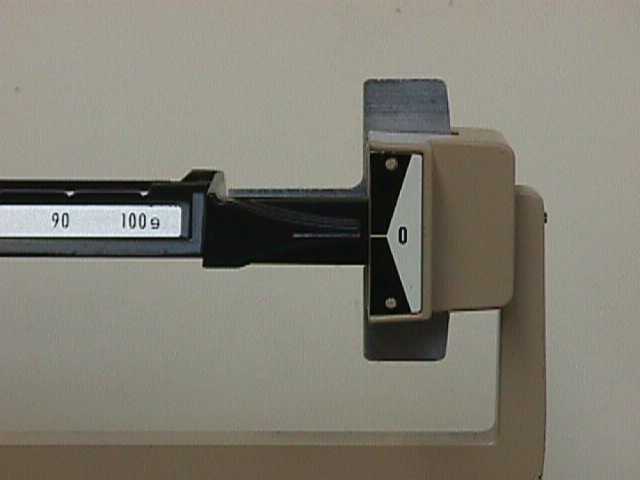
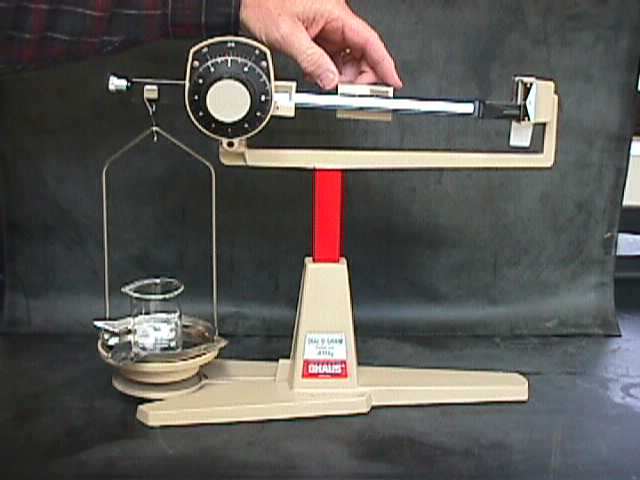
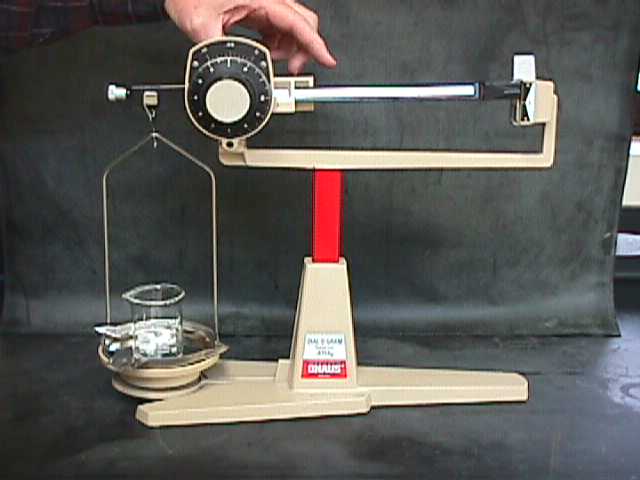
The less sensitive of the two balances you will be using is called the Dial-o-Gram balance. It can weigh objects and samples (up to 300 grams) to a precision of 1/100th of a gram--that is, to the second decimal place (0.01). In this lesson you'll need to learn how to use it to 1/100th of a gram by using its built in Vernier scale. |
In this section, we will first focus on using the Vernier scale and then the steps taken in using a Dial-O-Gram balance.
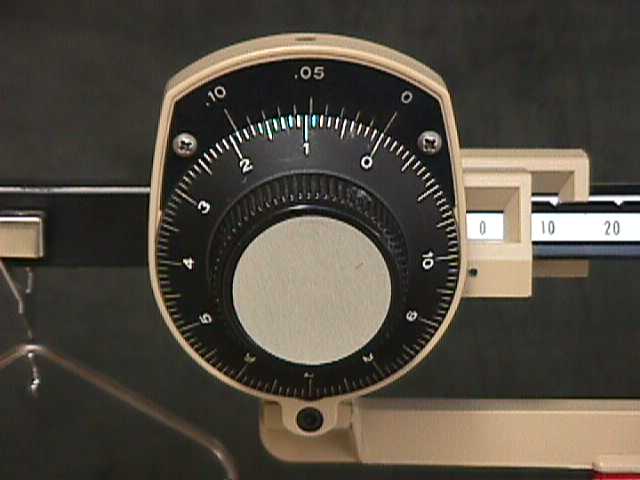
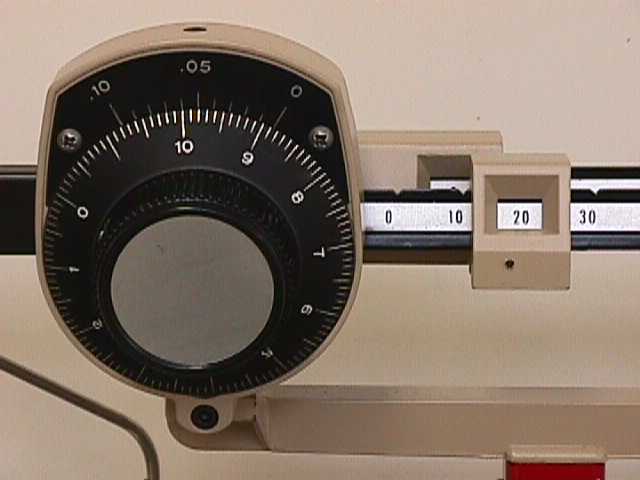
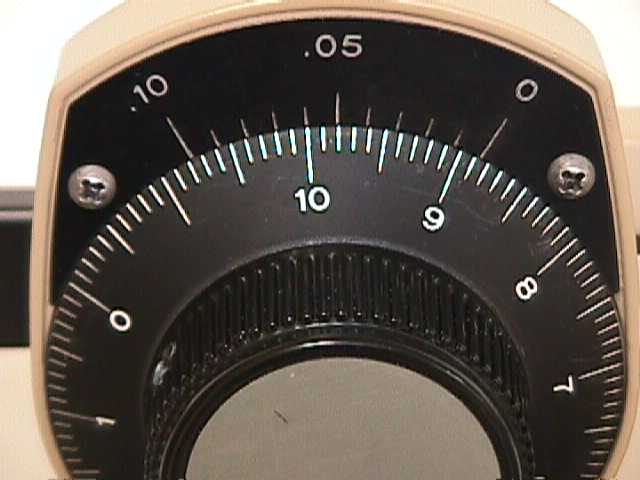
 You will need to read the dial with precision to 1/100th of a gram. In reading the weight on the dial, there are two sets of numbers
to work with, the numbers on the dial itself and the numbers on the stationary plate above
it. These slide past one another just like the Vernier scale you looked at earlier. The
stationary plate is a modified Vernier scale. Instead of 10 (actually .10) on the Vernier
scale being equal to 9 on the Standard scale, it is equal to 1.9 on the Standard scale.
The zero mark on the stationary plate is the reference point that you use to read the
weight on the dial.
You will need to read the dial with precision to 1/100th of a gram. In reading the weight on the dial, there are two sets of numbers
to work with, the numbers on the dial itself and the numbers on the stationary plate above
it. These slide past one another just like the Vernier scale you looked at earlier. The
stationary plate is a modified Vernier scale. Instead of 10 (actually .10) on the Vernier
scale being equal to 9 on the Standard scale, it is equal to 1.9 on the Standard scale.
The zero mark on the stationary plate is the reference point that you use to read the
weight on the dial.
 Look at the setting on this dial now. (This is also diagrammed in
Example 26 in your workbook.) The stationary (Vernier) zero is between 4 and 5 on the dial,
so the weight is between 4 and 5 grams. Each of the 10 divisions between the 4 and the 5
represents 1/10th of a gram. Since the stationary (Vernier) zero mark is between the
fourth and the fifth division, the weight is between 4.4 and 4.5 grams.
Look at the setting on this dial now. (This is also diagrammed in
Example 26 in your workbook.) The stationary (Vernier) zero is between 4 and 5 on the dial,
so the weight is between 4 and 5 grams. Each of the 10 divisions between the 4 and the 5
represents 1/10th of a gram. Since the stationary (Vernier) zero mark is between the
fourth and the fifth division, the weight is between 4.4 and 4.5 grams.
Next, we need to estimate the hundredths place using the Vernier scale. To use this Vernier scale, you look at the stationary (Vernier) scale marks to see which of them matches best with the corresponding Standard scale mark. In this case it's the sixth one (allowing for digital distortion), so that gives you 6 as the hundredths place. Therefore, the weight shown on the dial is 4.46 grams.
If it looks to you more like 4.45 don't be concerned, that is because of the resolution on the screen. If you have any problems seeing how we came up with 4.46 grams, take a look at Example 26 in your workbook.
There are several steps in properly using a Dial-o-gram balance. These are summarized here and in Example 27 in your workbook.
|
|
|
|
|
|
|
|
|
|
|
|
|
|
|
|
|
|
 |
|
|
|
|
|
|
I'd like you to go over to the laboratory area and actually use a Dial-o-gram balance. You can do this now or later when you are in the lab. Make some weighings to the nearest hundredth of a gram, until you are confident in your ability to do that. There are some objects over there that you can use. When you are confident, get another sample from the instructor, weigh it to 1/100th gram precision, record its weight in Exercise 28, have the instructor check your work, then continue with the lesson.
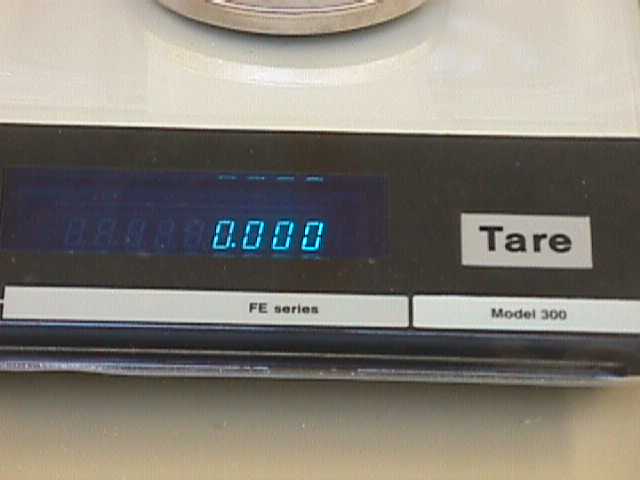
Electronic Top-Loading Balances
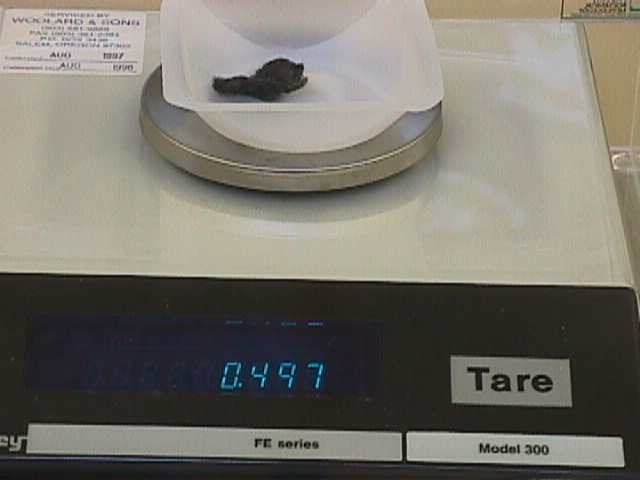
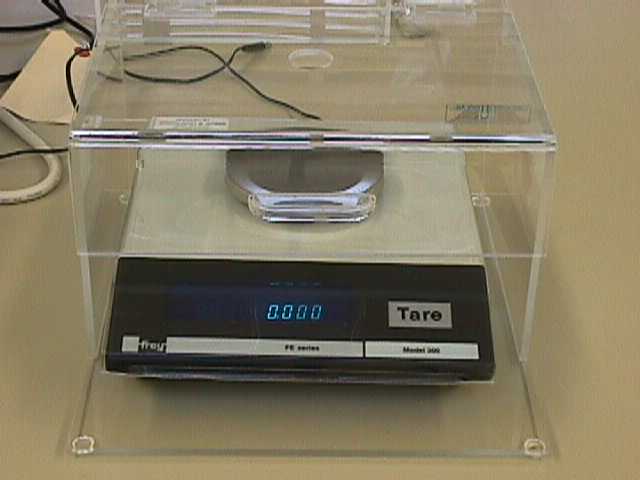
The usual operation of an electronic top-loading balance is quite simple. The instructions for the usual operation and for some variations are listed here and in Example 27 in your workbook. This type of balance can weigh things to three decimal places. That is, it will weigh to the nearest thousandth of a gram. It should be left on at all times. When you're through using it, leave it on. If the components of an electronic balance are cold when you start, they will drift while warming up, causing changes in your measurements. Leaving it on so it stays warm will avoid this.

|
|
|
|

|
|
|
|
|
|
Now, again weigh a sample - you may use the same sample as you used for the Dial-O-Gram balance - and record its weight in the table in Exercise 28. Have the instructor check your measurement. (Notice the difference in precision between the two types of balances. Which one should you use if you want the most precision?)